
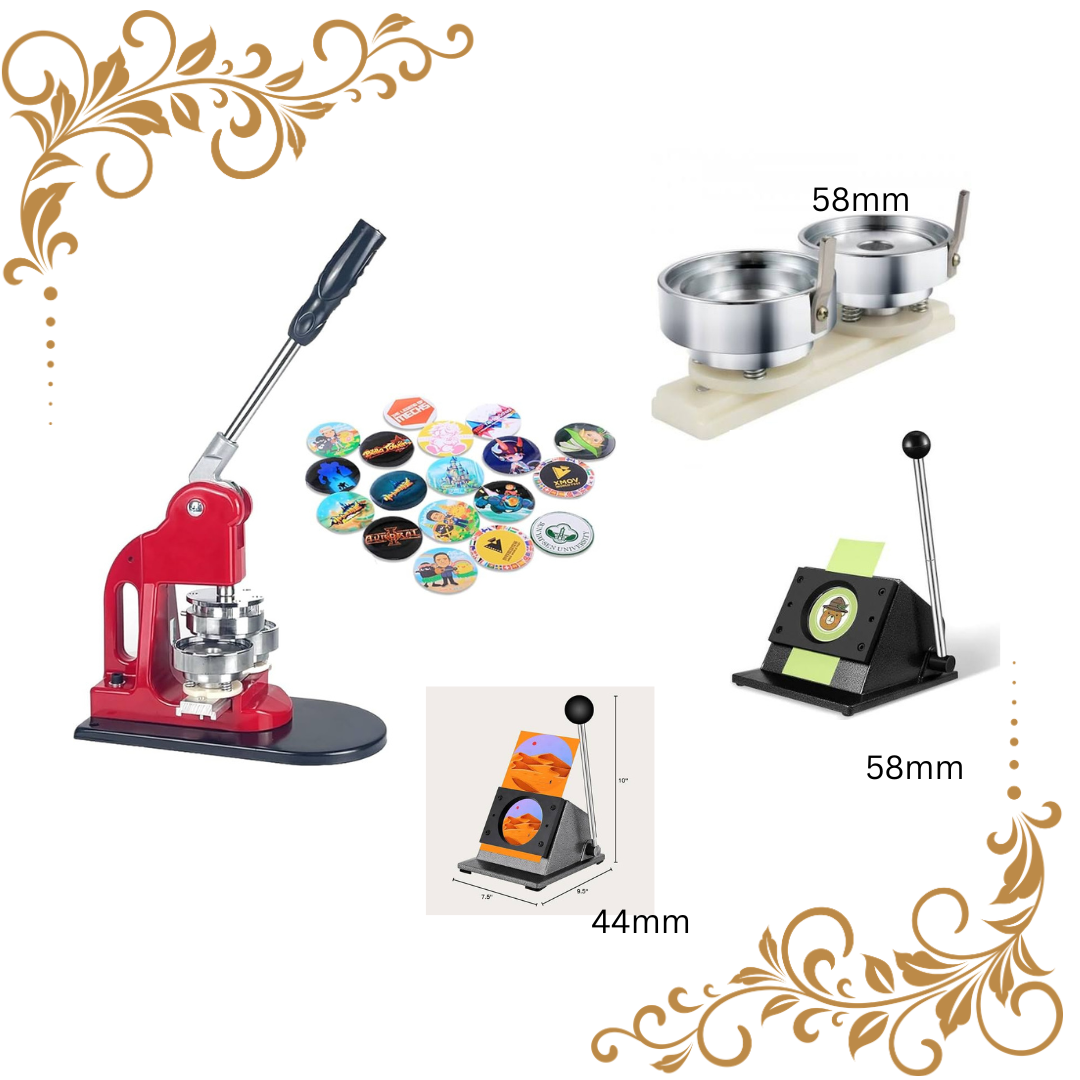
Badge Machine Setup 44mm & 58mm
₹ 35,000 Original price was: ₹ 35,000.₹ 25,000Current price is: ₹ 25,000.
Badge Machine Setup Includes
A typical 44mm & 58mm badge machine setup can include:
- Badge making press machine
- 44mm badge die
- 58mm badge die
- Badge cutting equipment
- Badge components/raw materials
- Mylar sheets
- Printed badge designs
- Backing components
- Suitable accessories for badge production
Description
Badge Machine Setup 44mm & 58mm
Are you looking to set up your badge machine for creating 44mm and 58mm badges? Well, you’ve come to the right place! In this article, we will guide you through the process of setting up your badge machine for these two popular badge sizes. From choosing the right components to assembling the machine, we’ve got you covered. Let’s get started!
Understanding Your Badge Machine
Before diving into the setup process, it’s essential to understand the components of your badge machine. Typically, a badge machine consists of a badge maker, die set, cutter, and various other accessories. The badge maker is responsible for pressing the badge components together, while the die set and cutter help create the specific badge size. Make sure you have all the necessary components before starting the setup process.
Choosing the Right Components
When setting up your badge machine for 44mm and 58mm badges, you’ll need to ensure that you have the correct die sets and cutters for each size. These components determine the final size and shape of your badges, so it’s crucial to select the right ones. Most badge machine manufacturers offer die sets and cutters in various sizes, including 44mm and 58mm. Double-check that you have the appropriate components for the badge sizes you want to create.
Assembling Your Badge Machine
Once you have all the necessary components, it’s time to assemble your badge machine. Start by attaching the die set to the badge maker according to the manufacturer’s instructions. Make sure it is securely in place to avoid any mishaps during the badge-making process. Next, insert the cutter into the badge maker to ensure clean and precise cuts for your badges. Finally, test the machine with some scrap materials to ensure everything is working correctly before moving on to creating your badges.
Creating 44mm & 58mm Badges
With your badge machine set up and ready to go, it’s time to start creating your 44mm and 58mm badges. Follow these simple steps to make professional-looking badges every time:
- Prepare Your Badge Components: Gather your badge components, including the badge fronts, backs, and protective mylar covers. Ensure they are clean and free of any dust or debris.
- Place Your Design: Design your badge artwork and place it on the badge front. Make sure it is centered and aligned correctly for a polished finish.
- Press the Badge Components: Place the badge components into the die set on the badge maker. Press down on the handle to secure the components together.
- Cut Your Badge: Use the cutter to trim any excess material from the edges of your badge. This step ensures a clean and professional-looking finish.
- Add the Mylar Cover: Finally, insert the protective mylar cover over the badge and press it down gently to seal the badge components together.
Congratulations! You’ve successfully created your first 44mm or 58mm badge. Repeat the process for more badges and let your creativity shine.
⭐ Why Choose a 44mm & 58mm Combination Setup?
A dual-size setup gives your business greater flexibility.
Instead of offering customers only one badge size, you can provide two popular badge formats.
Benefits
✅ Two badge sizes in one setup
✅ Suitable for different customer requirements
✅ Easy manual operation
✅ Compact business setup
✅ Suitable for customization work
✅ Useful for bulk orders
✅ Low-space requirement
✅ Suitable for beginners
✅ Multiple business applications
🛠️ How to Make a Custom Badge
The basic badge-making process generally involves:
Step 1 – Create the Design
Prepare your customer’s logo, photograph, name, artwork or promotional design using graphic-design software.
Step 2 – Print the Design
Print the design on suitable paper according to the required badge size.
Step 3 – Cut the Design
Use the appropriate 44mm or 58mm badge cutter to cut the printed design accurately.
Step 4 – Assemble the Components
Place the printed artwork, protective Mylar film and metal badge components in the appropriate die.
Step 5 – Press the Badge
Operate the badge press to assemble the components.
Step 6 – Finish the Badge
After pressing, check the edges and backing to ensure the badge is properly assembled.
Conclusion
Setting up your badge machine for 44mm and 58mm badges doesn’t have to be complicated. With the right components and a little know-how, you can create professional-looking badges in no time. Follow the steps outlined in this article, and you’ll be on your way to badge-making success in no time. Happy badge making!
Meta Description: Learn how to set up your badge machine for creating 44mm and 58mm badges. Follow these simple steps for professional-looking badges every time!
Title: Easy Guide to Badge Machine Setup for 44mm & 58mm Badges
Related Products
Related products
-
Sale!

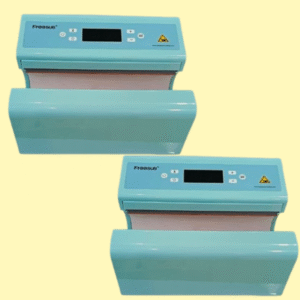
Automatic Sipper Heat Press Machine- Sublitech
₹ 16,999Original price was: ₹ 16,999.₹ 8,999Current price is: ₹ 8,999. Add to cart -
Sale!
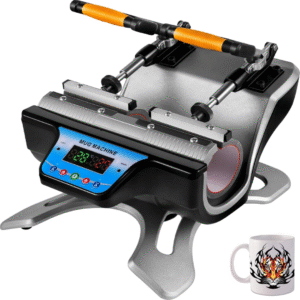
Double mug heat press machine-Sublitech
₹ 16,000Original price was: ₹ 16,000.₹ 7,599Current price is: ₹ 7,599. Add to cart -
Sale!
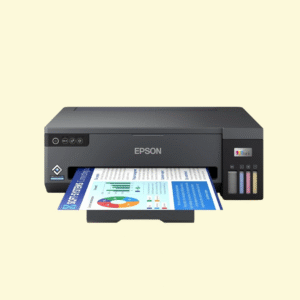
A3 Printer L18050 4 ink- Sublitech
₹ 37,999Original price was: ₹ 37,999.₹ 27,999Current price is: ₹ 27,999. Add to cart -
Sale!
Plotter Machine-Sublitech
₹ 35,999Original price was: ₹ 35,999.₹ 25,999Current price is: ₹ 25,999. Add to cart
Reviews
There are no reviews yet.